- SYSTEM 16 METRIC SERIES
THE WALTER
SYSTEM 16
METRIC(MM)WELDING
TABLES
.jpg)
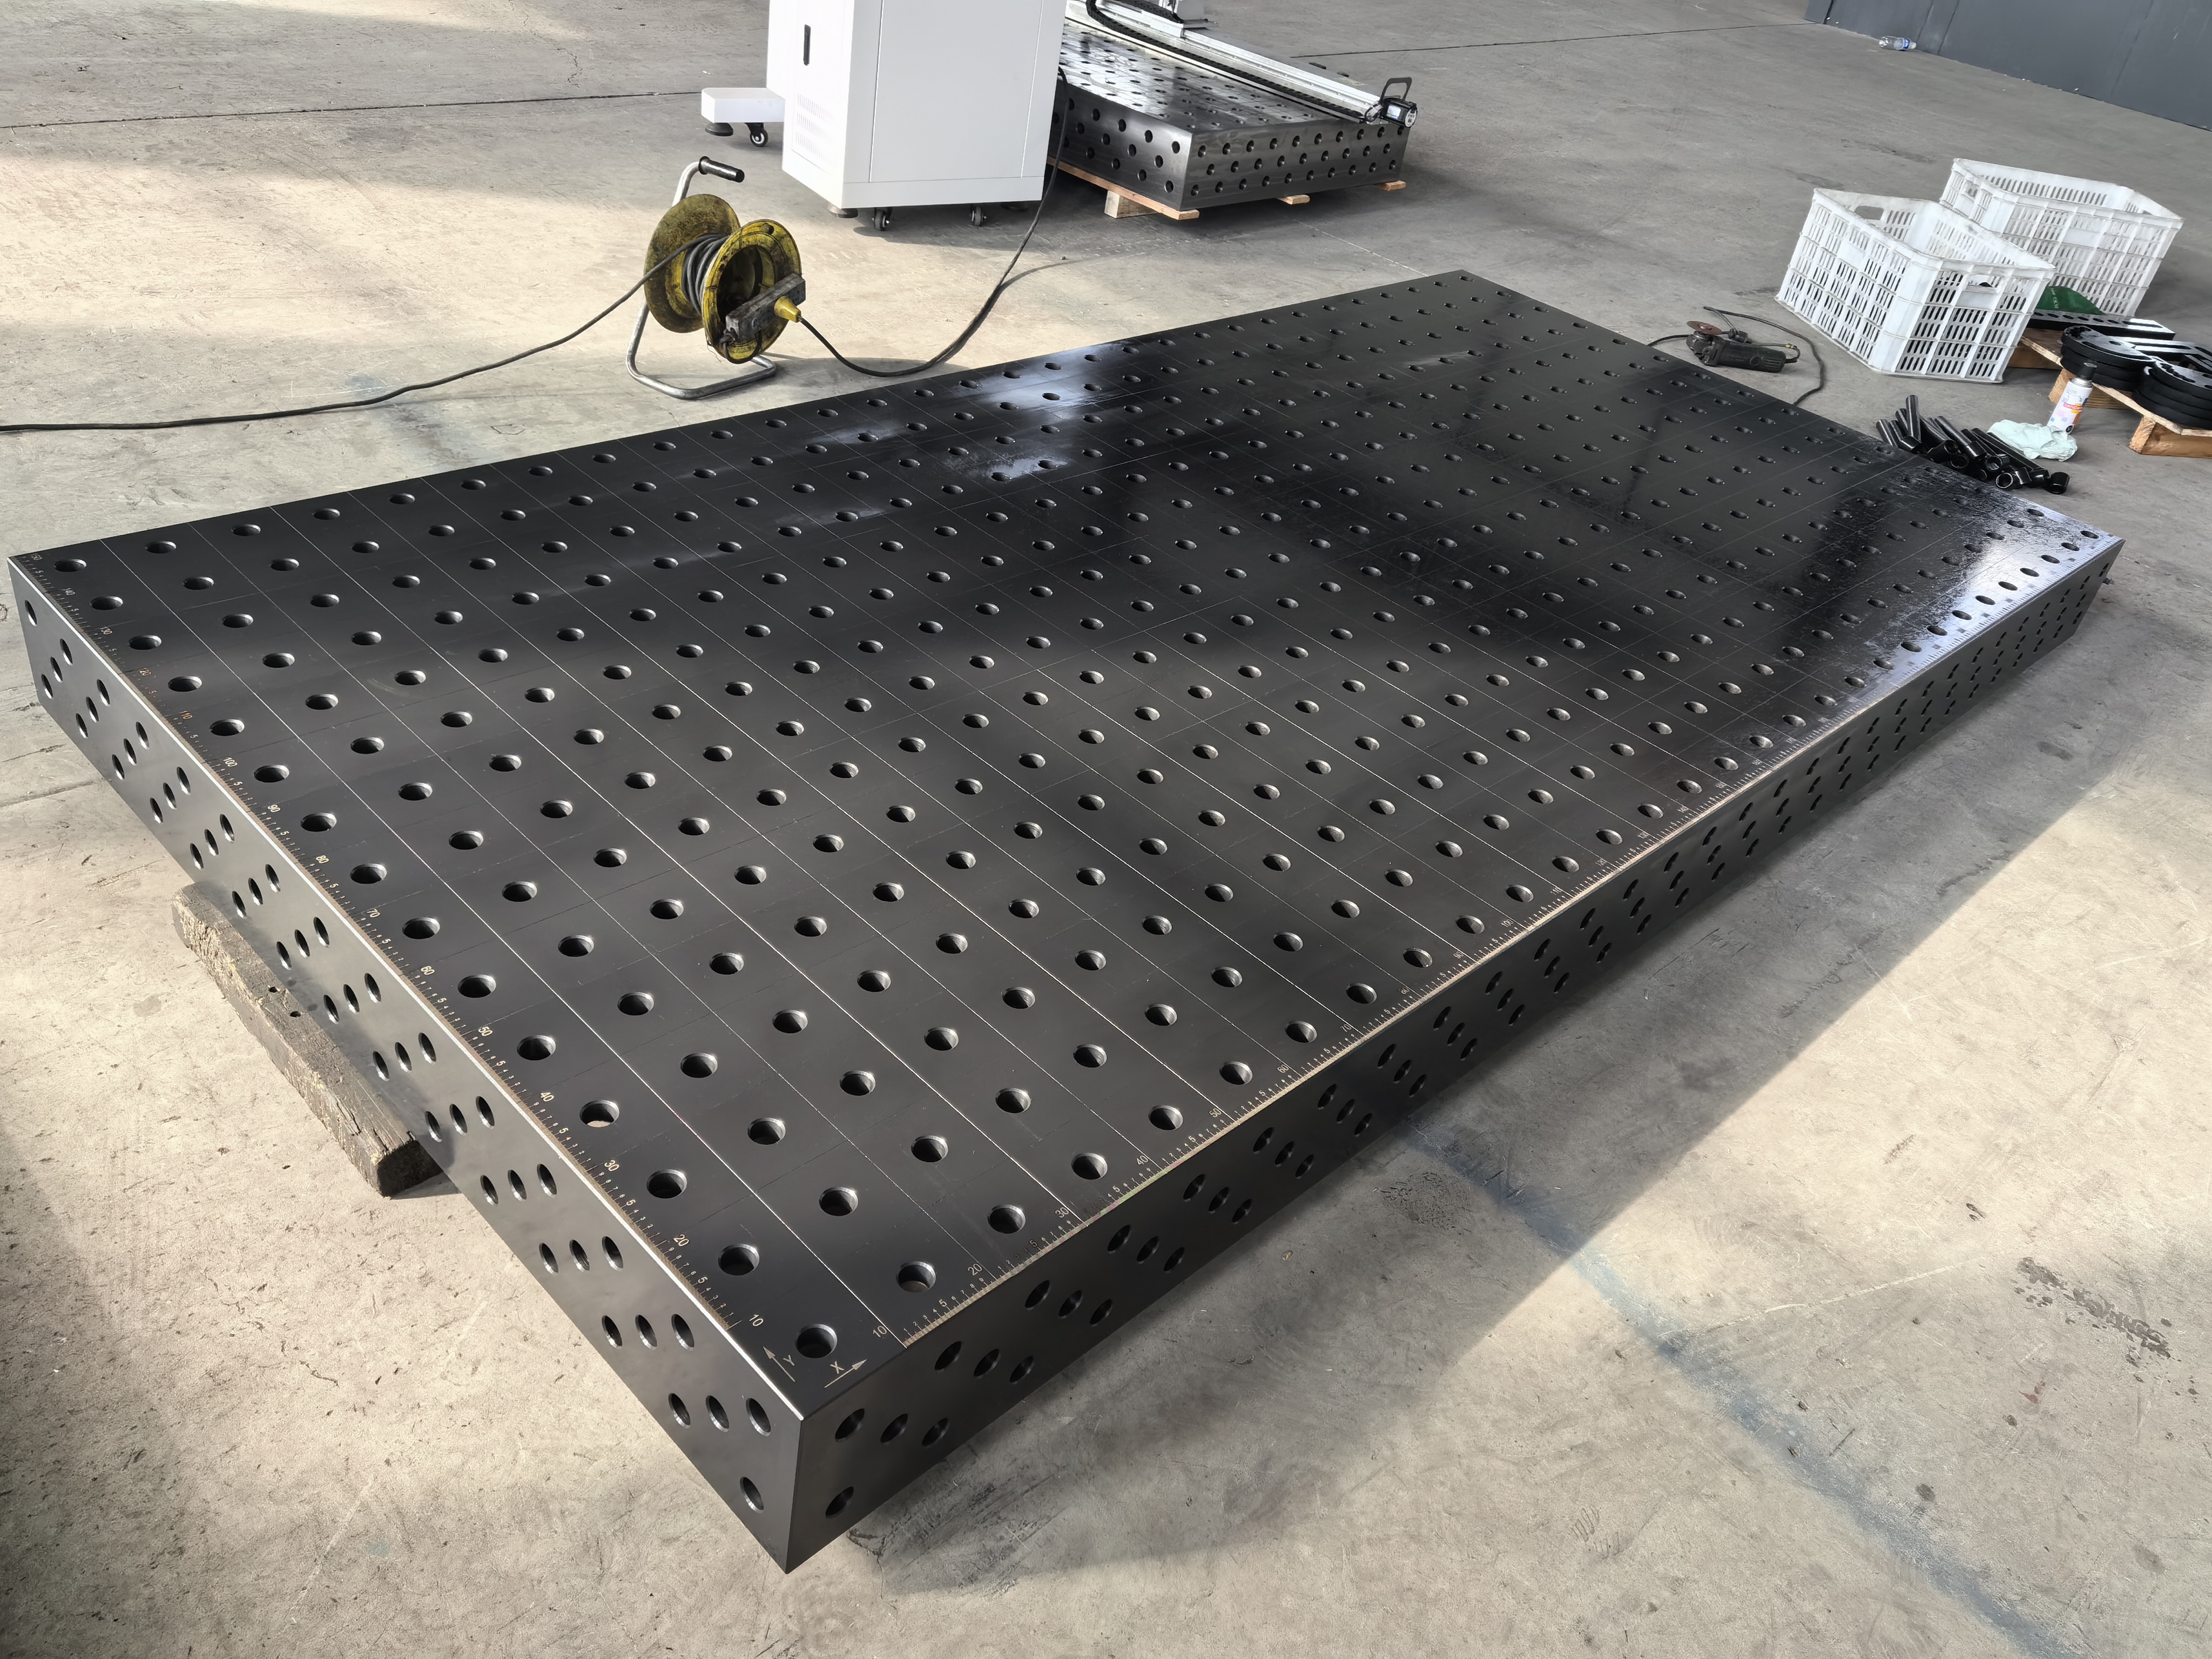
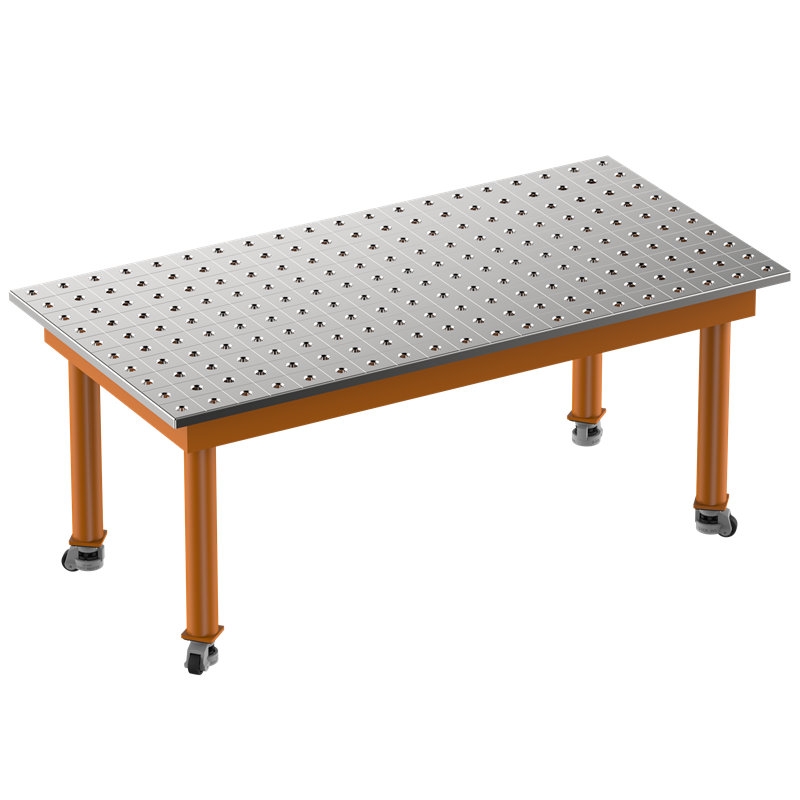
D16 STEEL TABLE
D16 CAST IRON TABLE
D16 STEEL NITRIDED TABLE
D16 CAST IRON NITRIDED TABLE
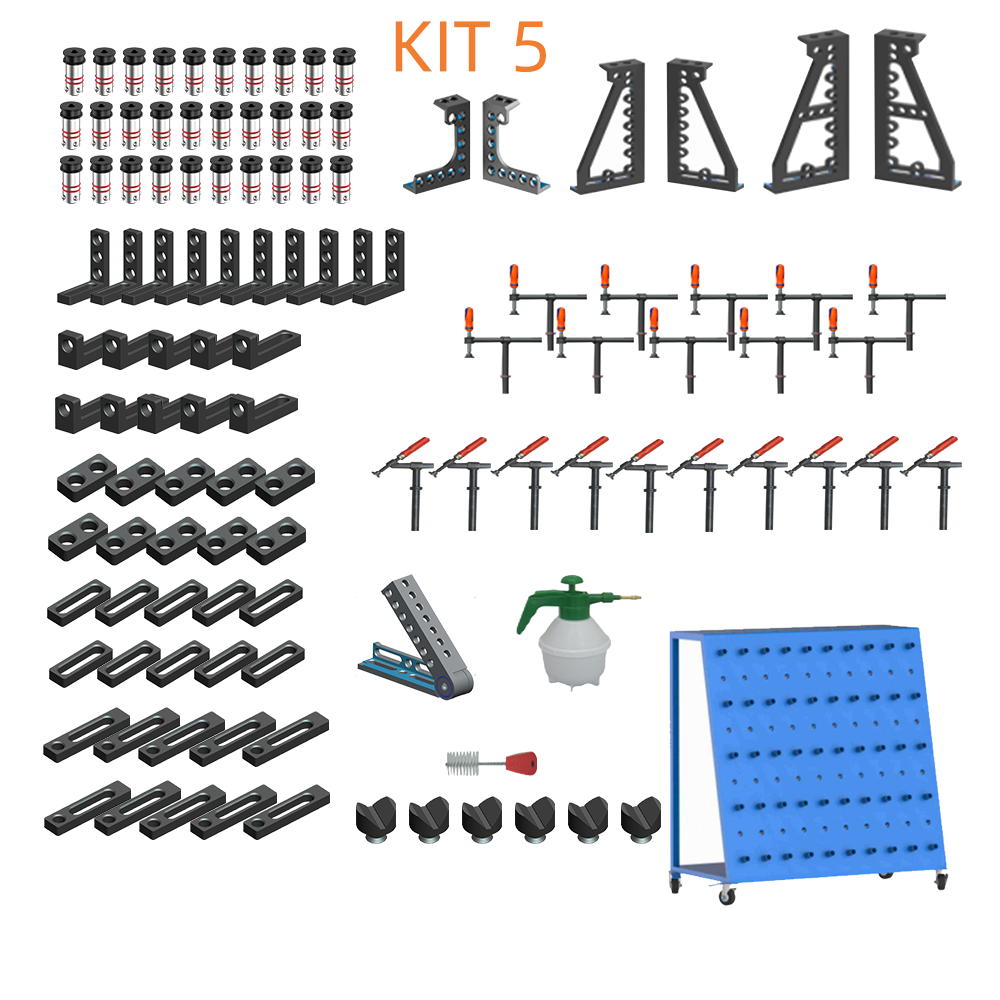
SYSTEM 16 METRIC ACCESSORY SETS
VIEW ALL ACCESSORY SET
D16 SET1(28 Piece kit)
D16 SET2(40 Piece kit)
D16 SET3(68 Piece kit)
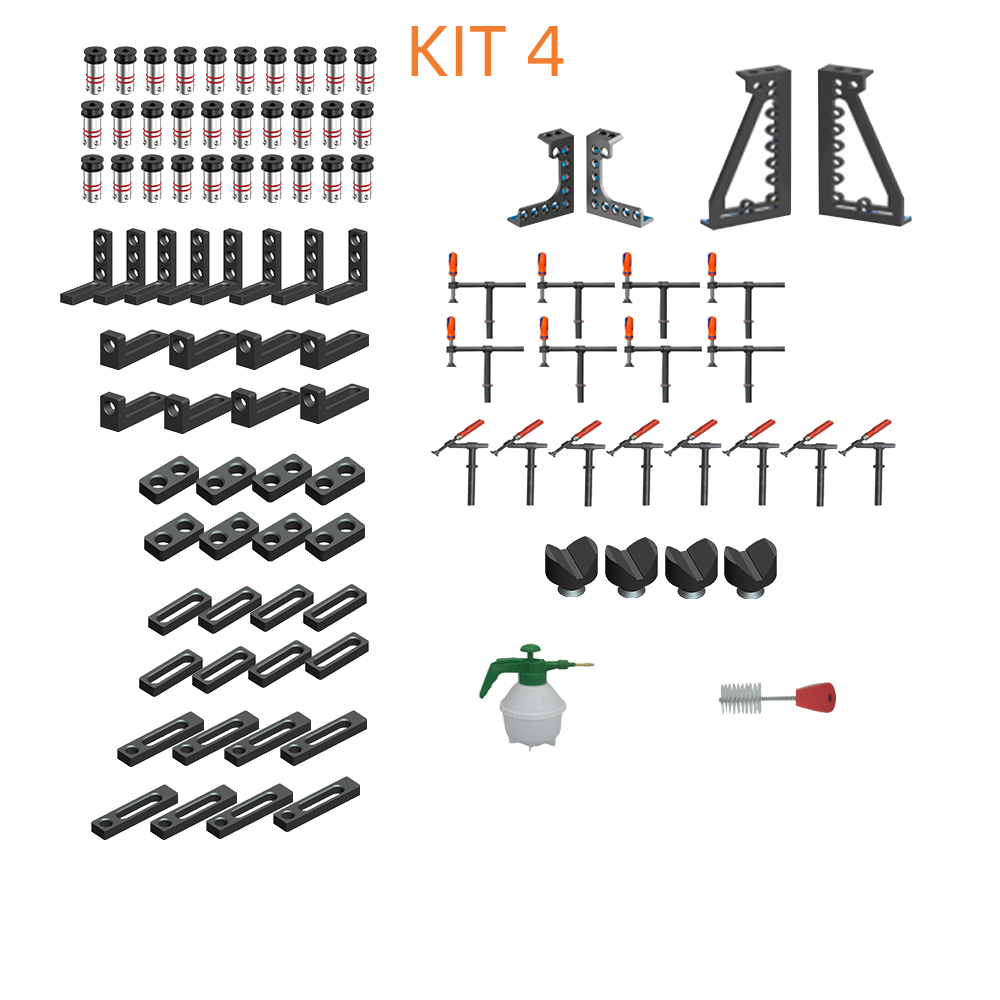
D16 SET4(96 Piece kit)
D16 SET5(116 Piece kit)
- SYSTEM 28 METRIC SERIES
THE WALTER SYSTEM 28 METRIC(MM)WELDING TABLES
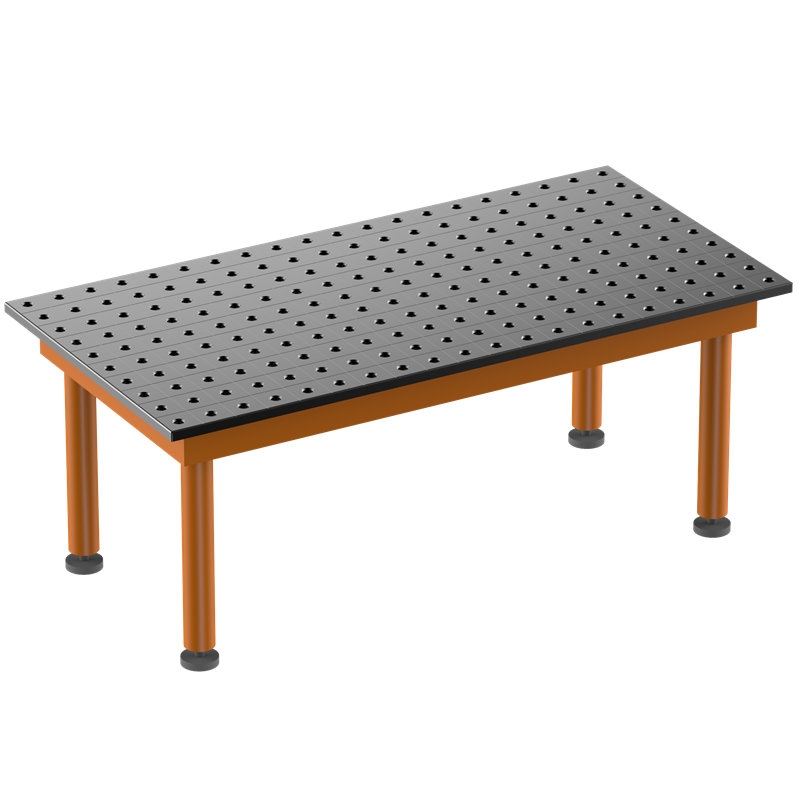
D28 STEEL TABLE.jpg)
D28 CAST IRON TABLE
D28 STEEL NITRIDED TABLE
D28 CAST IRON NITRIDED TABLE
SYSTEM 28 METRIC ACCESSORY SETS
VIEW ALL ACCESSORY SET
D28 SET1(28 Piece kit)
D28 SET2(40 Piece kit)
D28 SET3(68 Piece kit)
D28 SET4(96 Piece kit)
D28 SET5(116 Piece kit)
.jpg)
(1).jpg)
.jpg)


Together with the modular welding table, Steel S355 Durable Nitriding welding table System in stock, and Nitrided Surface 3D Modular Welding Table, manufacturers can achieve distortion-free aluminum welding and guarantee perfect fitment in every vehicle frame.
WALTER’s nitrided technology doesn’t just support welding — it redefines precision in modern automotive fabrication.
1. Introduction: Precision Welding in Modern Vehicle Manufacturing
Automotive manufacturers are increasingly turning to aluminum alloy chassis structures to reduce vehicle weight and improve fuel efficiency. However, aluminum presents unique challenges during welding — especially burn-through, warping, and misalignment.
A typical car chassis features thin, extruded aluminum sections connected by hundreds of welds. Even a 0.5 mm deviation can cause serious assembly issues in later stages such as suspension installation or body panel alignment.
Why does this happen? Aluminum’s high thermal conductivity and low melting point make it extremely sensitive to heat input. Inconsistent heat control or poor fixturing often results in holes, joint collapse, and frame twist.
To solve these issues, engineers and welders in automotive plants are turning to advanced fixture systems like the Walter 3D Welding Table and Welder 3D Durable Nitriding welding table System, which ensure thermal balance, rigidity, and consistent geometry throughout production.
2. Why Burn-Through and Deformation Occur in Aluminum Chassis Welding
Let’s understand the physics first.
(1) High Heat Flow and Thin Material
Aluminum conducts heat up to four times faster than steel. During welding, this rapid heat transfer causes excessive melting in thin zones while leaving adjacent areas cold.
(2) Lack of Proper Fixturing
Large chassis assemblies are flexible. If not properly clamped, parts shift and expand unevenly under heat. Once cooling begins, these stresses lock into the structure, producing warpage or torsion.
(3) Uneven Table Surface or Clamping Pressure
Ordinary steel benches or worn-out tables don’t provide full contact. Gaps between the part and surface accelerate localized cooling, which leads to distortion.
(4) Inadequate Cooling Control
If the assembly is unclamped before reaching stable temperature, residual stress can distort the frame instantly.
For these reasons, professional workshops rely on nitrided and precision-machined fixtures such as the Professional Steel Plasma nitriding welding platform to maintain both structural and thermal consistency.
3. The Technology Behind WALTER’s Lightweight Nitrided Platform
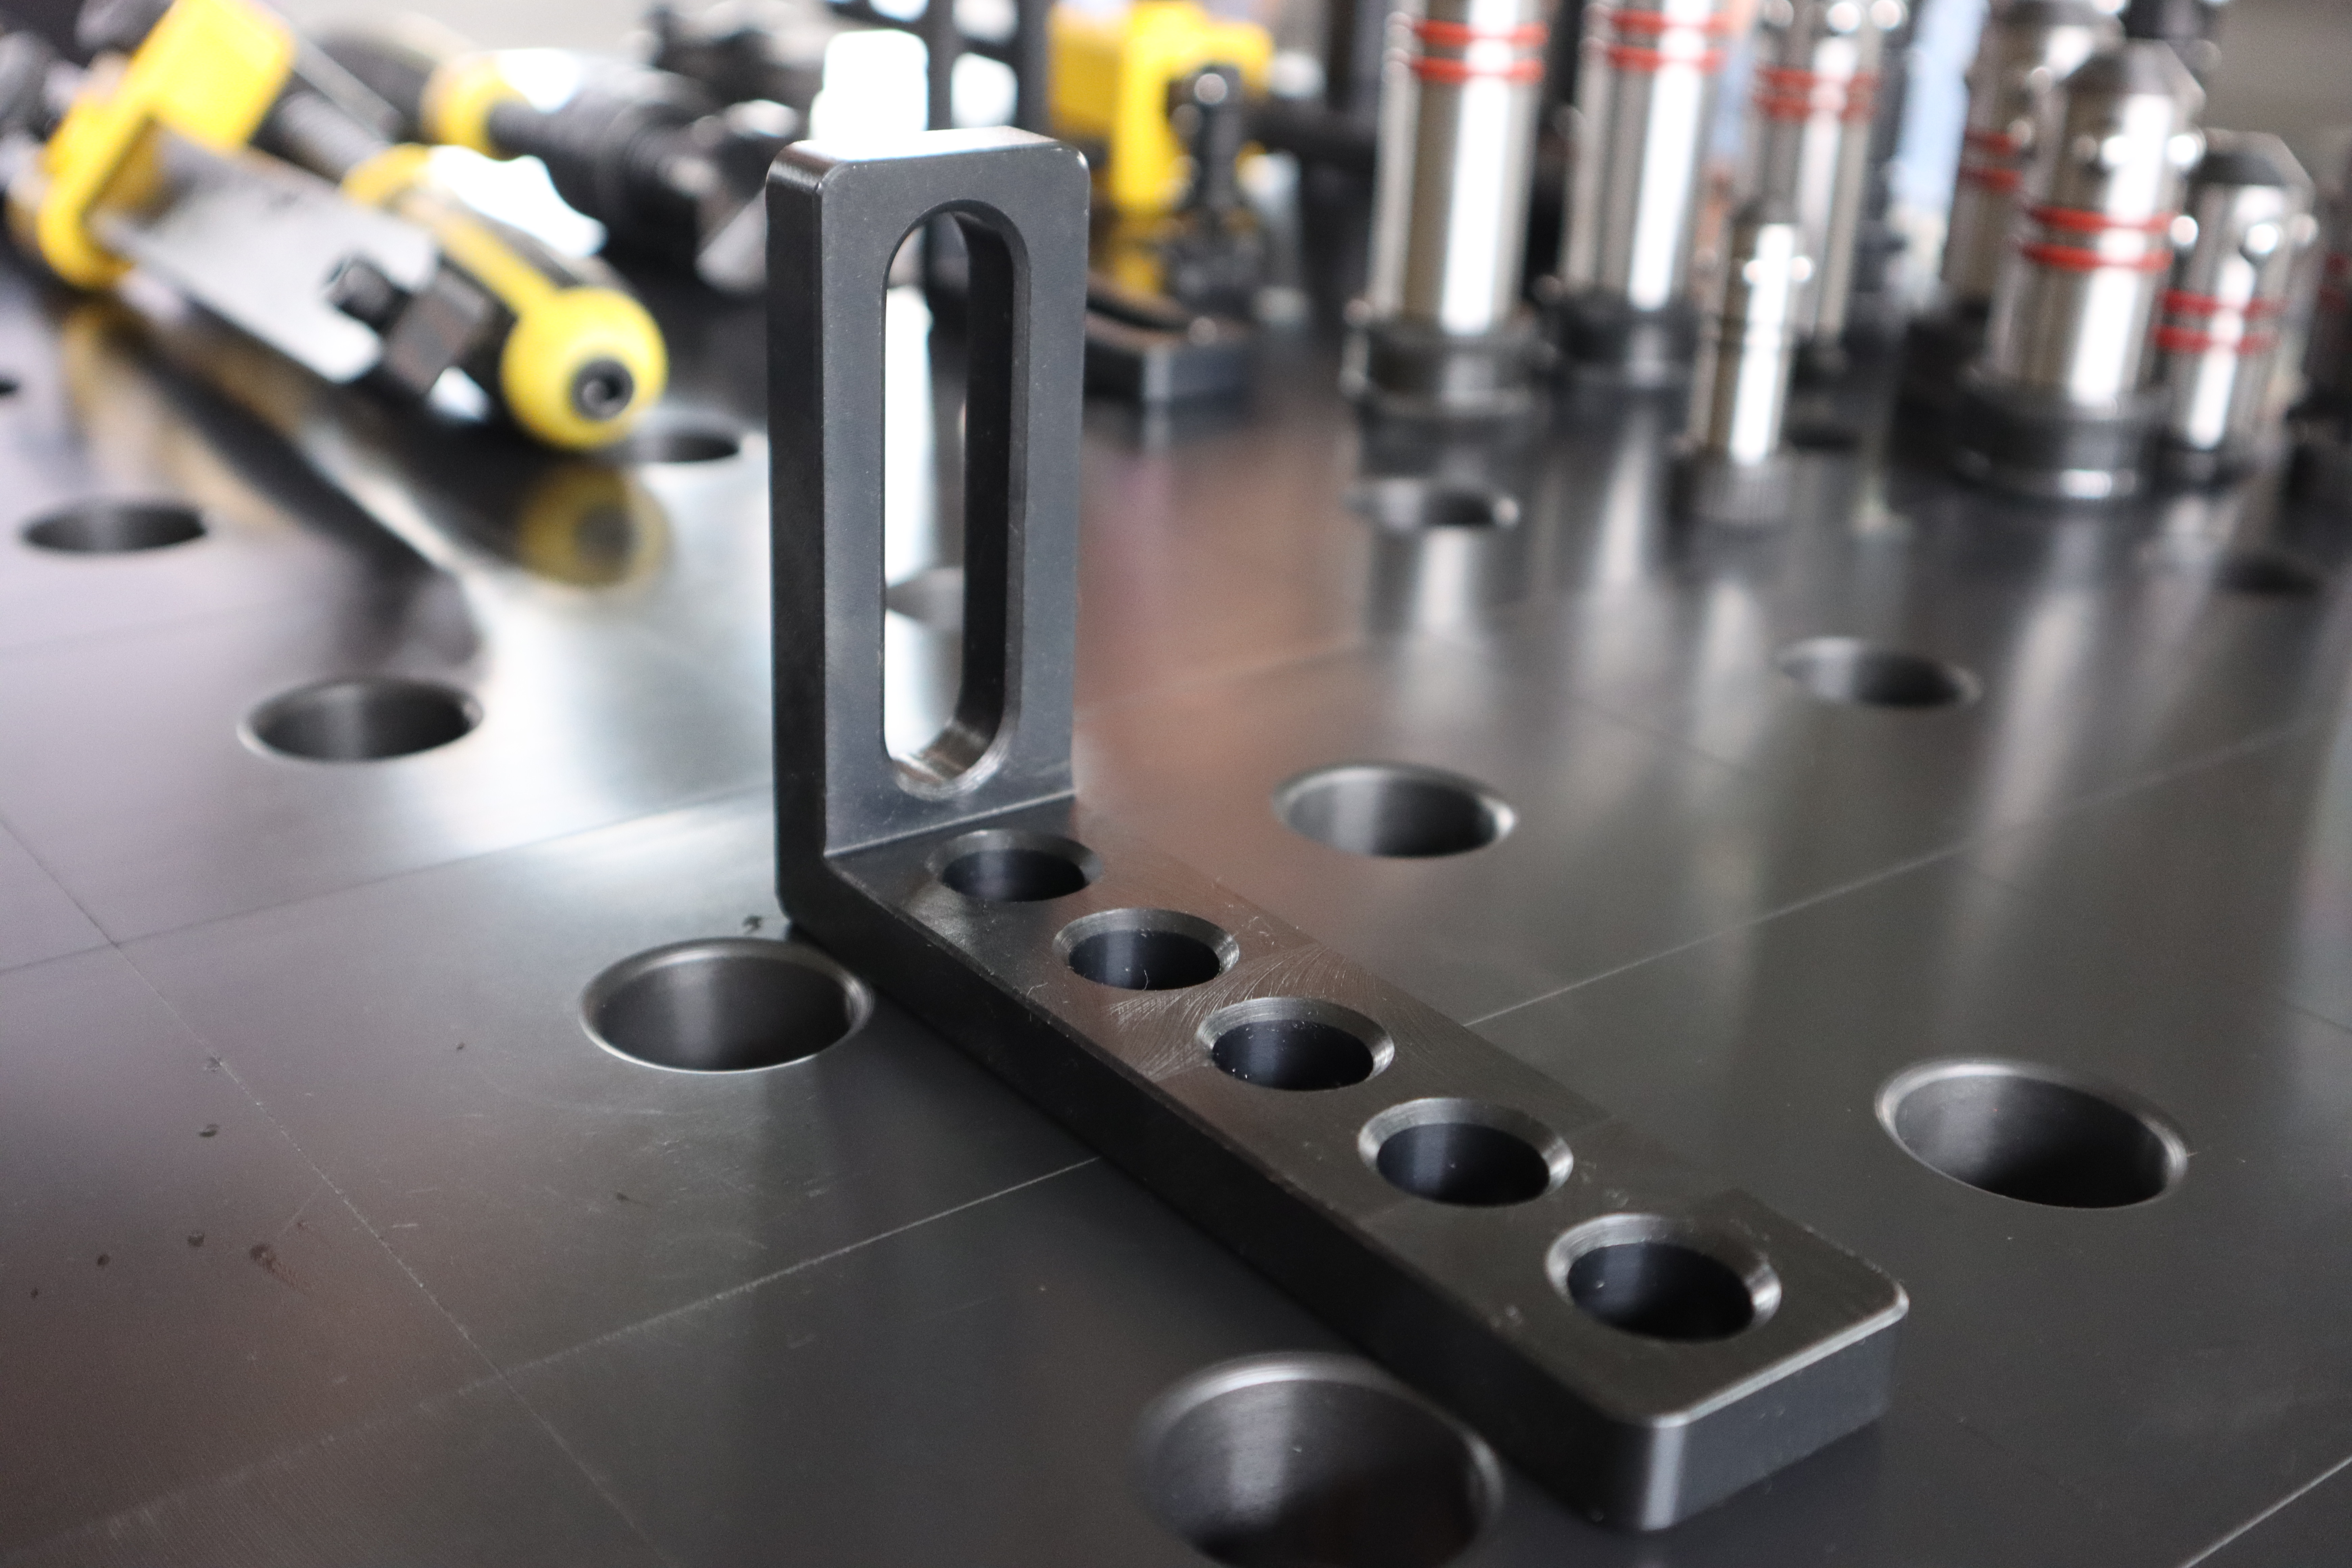
The Welder 3D Durable Nitriding welding table System combines heavy-duty steel base construction with plasma nitrided surfaces, ensuring excellent heat resistance and dimensional stability.
Nitriding creates a thin, hard layer (up to 1000 HV) on the surface, dramatically reducing wear, corrosion, and spatter adhesion. The Nitrided Surface 3D Modular Welding Table further enhances heat uniformity and prevents uneven cooling under large components like chassis subframes.
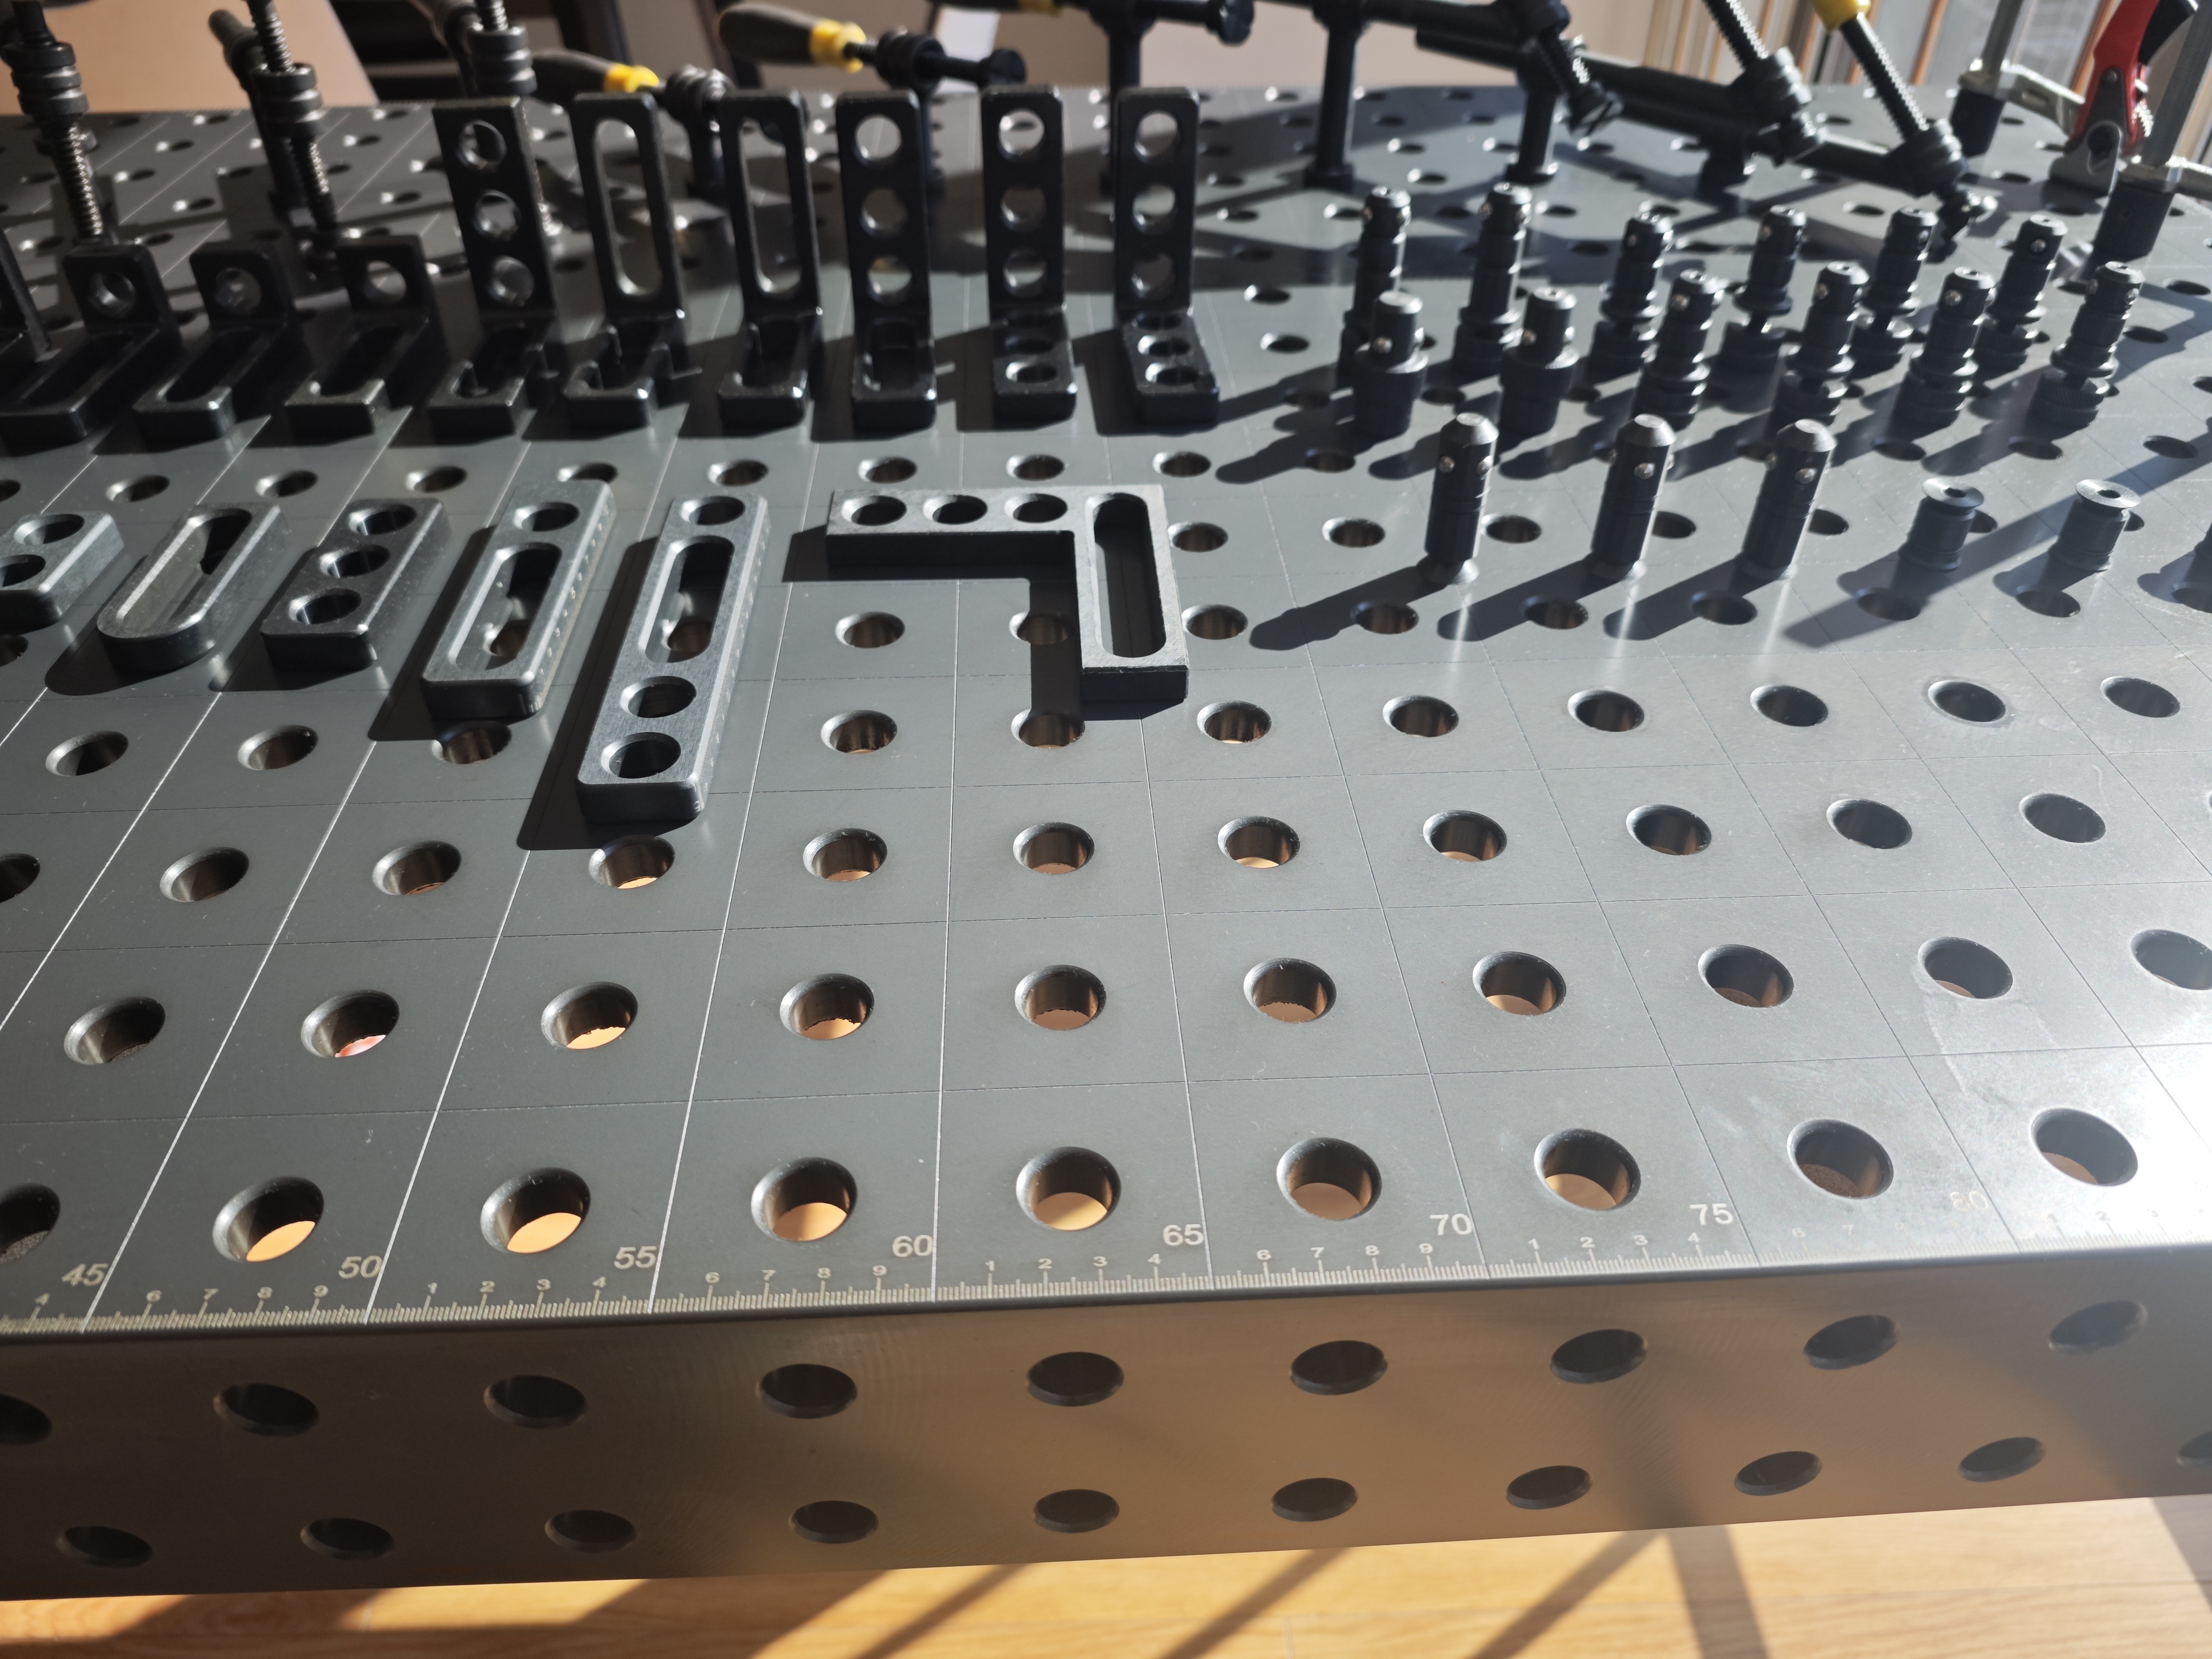
The Steel S355 Durable Nitriding welding table System in stock features pretreated steel optimized for load-bearing and precision-fixturing of large assemblies. This allows simultaneous multi-point clamping — essential for vehicle chassis sections.
4. Step-by-Step Implementation in Automotive Production
Step 1 – Preparation and Table Setup
Clean all aluminum parts to remove oxide films using stainless wire brushes or chemical solutions. Place the frame subassembly on the Walter 3D Welding Table and use dedicated aluminum-safe clamps.
Align key reference points (control arms, suspension brackets, and torsion tubes) using precision jigs mounted on the modular welding table. This ensures the geometry is locked before any heat is applied.
Tip: Preheat thicker cross-members to around 100–120°C for uniform heat input across the weld seam.
Step 2 – Controlled Heat Input
Use pulse MIG or AC TIG welding with balanced waveforms to minimize overheating. Start from the center of the chassis and move outward, alternating sides to distribute heat evenly.
The Professional Steel Plasma nitriding welding platform provides consistent thermal reflection and stability. Its nitrided surface ensures uniform conductivity, preventing cold spots or uneven melting.
Step 3 – Fixturing and Thermal Management
Aluminum chassis welding requires high clamping precision without restricting thermal expansion. Use flexible clamps with adjustable torque to allow minor movement.
Keep all major structural points clamped until cooling is complete. The Welder 3D Durable Nitriding welding table System’s nitrided surface and dense structure absorb and equalize heat, reducing localized distortion.
Step 4 – Cooling and Stress Relief
After welding, allow the frame to cool slowly to below 80°C while still fixed on the Steel S355 Durable Nitriding welding table System in stock. Do not quench with air or water — rapid cooling may introduce thermal cracks.
If required, apply a low-temperature artificial aging process (around 180°C for one hour) to relieve internal stress. This can be done directly on the Nitrided Surface 3D Modular Welding Table without losing flatness.
Step 5 – Final Alignment and Inspection
Once cooled, measure critical points using laser trackers or CMM (Coordinate Measuring Machine). Verify flatness and alignment across the entire chassis.
If minor distortion exists (<0.3 mm), use controlled mechanical correction. The 3D welding table acts as a reference plane for accurate calibration.
5. Case Study: Automotive OEM Achieves Zero Distortion
A European EV manufacturer reported repeated burn-through issues on aluminum battery frame welds, causing 12% rework rates.
After implementing the Walter 3D Welding Table with full fixture integration and the Professional Steel Plasma nitriding welding platform, results improved significantly:
Weld burn-through defects dropped by 85%
Frame twist distortion reduced from 2.5 mm to 0.4 mm average
Assembly time decreased by 20% due to faster setup and better repeatability
Their production engineers also noted that the Welder 3D Durable Nitriding welding table System maintained perfect flatness across continuous 16-hour shifts, demonstrating outstanding thermal durability.
6. Plasma Nitriding Explained
Plasma nitriding enhances both mechanical and thermal properties of steel welding tables. Nitrogen atoms diffused under electric plasma form a hard, dense layer resistant to spatter and deformation.
The nitrided surface provides stable heat reflection, critical for aluminum welding since the process depends heavily on surface temperature control. The Nitrided Surface 3D Modular Welding Table and Steel S355 Durable Nitriding welding table System in stock both use this process to achieve long-term precision and zero corrosion.
7. Key Benefits for Automotive Chassis Production
Uniform heat flow, reducing weld penetration issues.
Improved dimensional stability, eliminating post-weld frame adjustments.
Higher productivity due to quick, repeatable fixturing.
Long-term cost savings from reduced rework and maintenance.
Enhanced safety and assembly compatibility with zero-tolerance geometry.
In short, WALTER’s system transforms aluminum chassis welding from a high-risk, distortion-prone task into a repeatable, precision-controlled process.
8. Best Practices to Prevent Mistakes
Never unclamp the chassis before it cools below 70°C.
Avoid over-tightening clamps — aluminum needs controlled freedom to expand.
Always verify table flatness every six months.
Clean oxide layers before every shift; aluminum oxide forms quickly.
Use inert gas shielding to prevent porosity and thermal instability.
Each step builds toward one goal: consistency.
9. Conclusion: Precision Welding for the Future of Lightweight Vehicles
The transition to lightweight aluminum chassis demands equally advanced manufacturing tools. The combination of the Walter 3D Welding Table, Welder 3D Durable Nitriding welding table System, and Professional Steel Plasma nitriding welding platform delivers the rigidity, accuracy, and heat control needed for zero-defect production.
Together with the modular welding table, Steel S355 Durable Nitriding welding table System in stock, and Nitrided Surface 3D Modular Welding Table, manufacturers can achieve distortion-free aluminum welding and guarantee perfect fitment in every vehicle frame.
WALTER’s nitrided technology doesn’t just support welding — it redefines precision in modern automotive fabrication.
WALTER Series
Information
Customer Reviews
Customer Gallery
Terms & Conditions
Privacy Policy
Return Policy
About Us